Welcome to Fort Henry!
I volunteered to build a model of Fort Henry for the Stewart County Historical Society to allow viewers to visualize this important piece of my hometown's history. This model has been my favorite project to work on, and has helped me share my love of modeling, design, and engineering with my community.
The History of Fort Henry
Fort Henry was built by the Confederacy to defend the Tennessee River during the Civil War. The hastily constructed earthen fort was built on low-lying swampland on the east bank of the river, rather than the more suitable western shore, so that a single garrison could man both Fort Henry and nearby Fort Donelson on the Cumberland river. Located in Stewart County, Tennessee, on the northern border of the Confederacy, these forts were the gateway to the interior of the South. Before the battle on February 6, 1862, the fort was flooded with 10 feet of water; an attempt was made to build a new fort, Fort Heiman, on the higher opposite bank, but it was not finished in time for the battle. Outnumbered and outgunned by Union troops and ironclad ships under General Ulysses Grant and Commodore Andrew Foote, Confederate General Lloyd Tilghman was forced to give up the fort, sending much of his force to Fort Donelson, which fell 10 days later. In 1938, the Tennessee Valley Authority permantly flooded Fort Henry with the construction of the Kentucky Dam; the remains of the earthen fort are about 15 feet below the surface of Kentucky Lake today.
The Model
I built this 1:72 scale model as a donation to the Stewart County Historical Society. To accurately depict the fort, I blended tradtional modeling techniques, such as plaster landforms and styrene plastic scratchbuilding, with modern construction methods like computer-aided design, 3D printing, and electrostatic turf (see here for on the static grass process). The model took over 100 hours to design and construct, from the construction of the wooden base in November 2020 to the completion of the display case in March 2021, and is now located in the Sykes museum in Dover, Tennessee.
Designing and Building Fort Henry

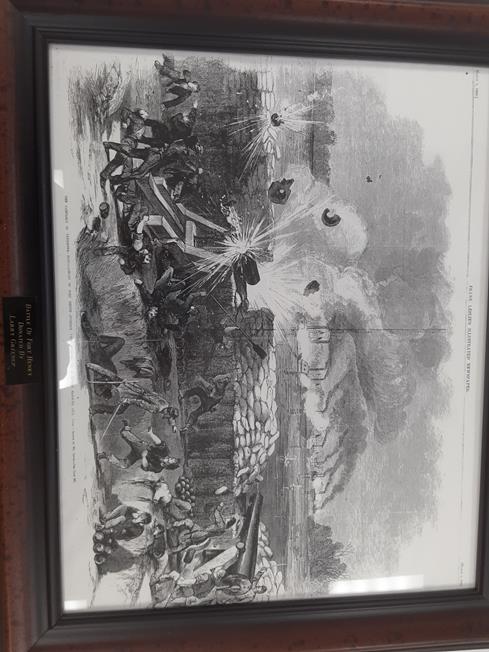
I began by researching the fort. Although the scenery was easy to geta feel for by driving through the area, I had to consult historical artwork of the fort to ascertain its layout. The two above images are from the historical society's collection and were very influential in my deisgn of the fort. The Confederate troops had mostly 42-pounder cannons, with 17 total heavy artillery pieces; this number is undrrepresented in the first image. I re-created the scene in the second picture, Battle of Fort Henry: Bursting of a 42-Pound Gun in Fort Henry During the Bombardment in the left foreground of the model. Also, I took a short trip to nearby Fort Donelson to research and dimensionalize powder magazines, cabins, cannons, and earthenworks.
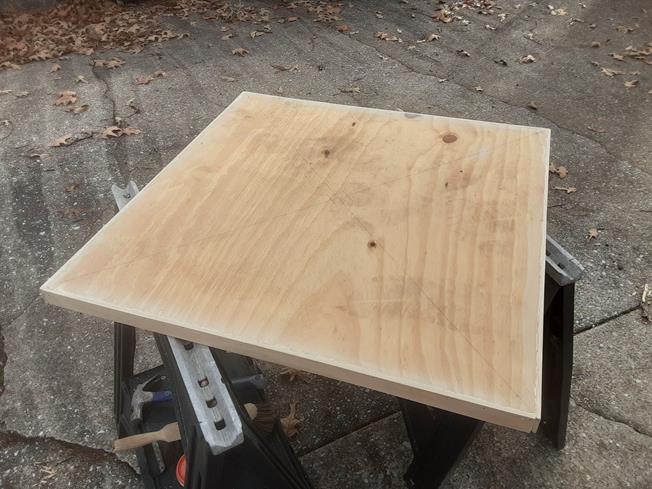
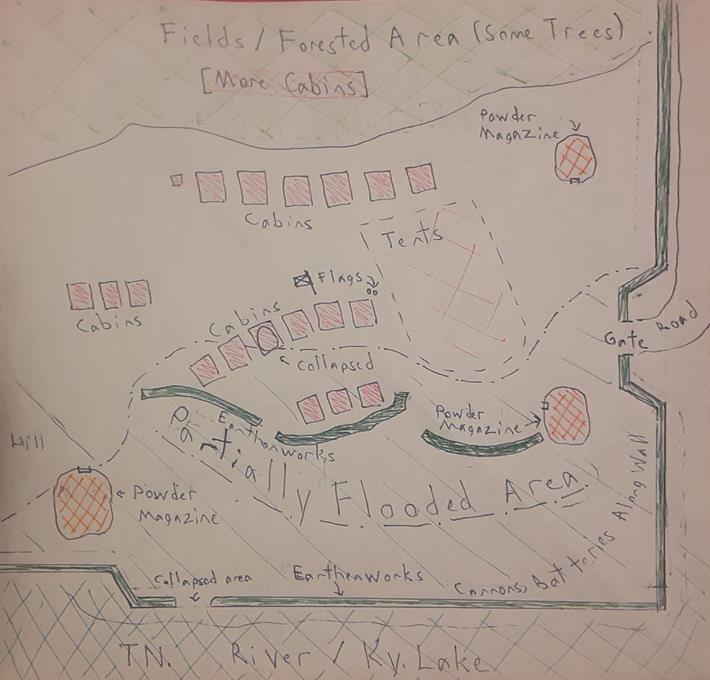
Once I had done some planning for the fort, I began by building a simple 30" by 30" wooden base for it. Woodworking isn't exactly my forte, but it gets the job done. Then, I started drawing plans for the model, including landforms, structures, and other parts. The drawing at right is the plan I used. I decided to model the southwest corner of the fort, which faces into the river*. I modified the above during the building process; The original scale was 1:87 (HO scale), but I adjusted it to 1:72 scale when I decided to add soldiers to the scene (war models are unavialable in 1:87 scale). After the plan was approved, I started to add plaster landforms to the base.
*Cannonfire is more destructive to walls perpendicular to the direction of fire (in this case, from the river) than to angled walls, so Fort Henry was built as a pentagon with one corner partially pointing into the river.
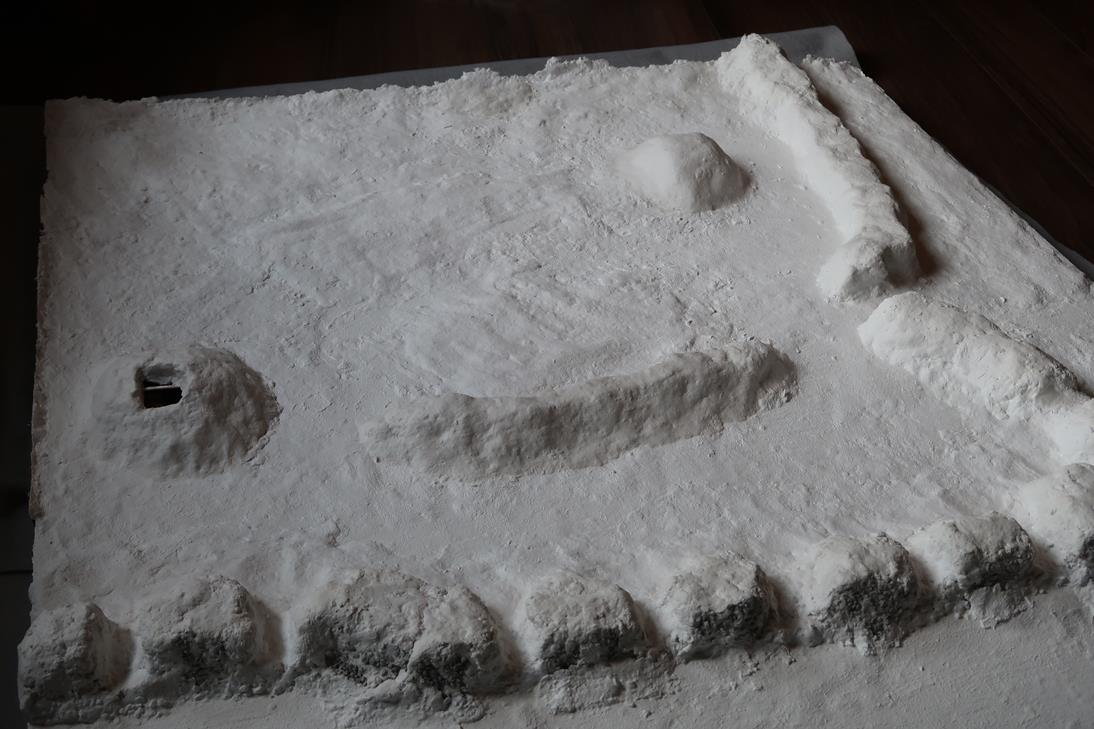
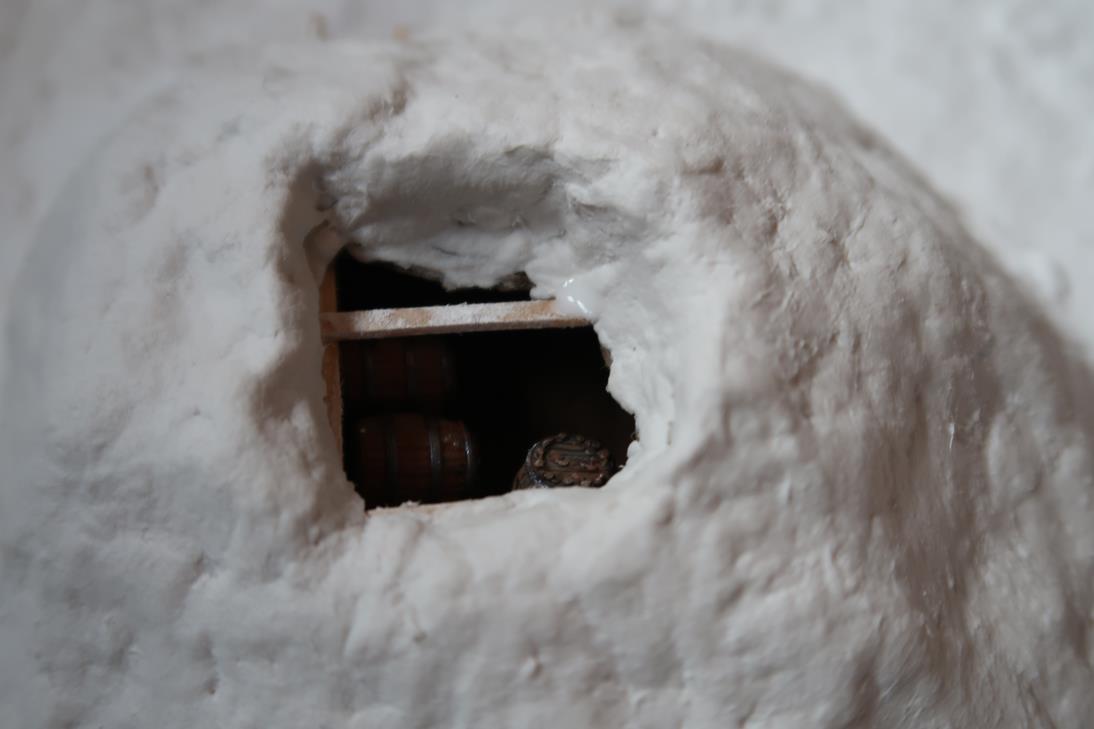
I created terrain and earthenworks using a product called Sculptamold, which is part plaster, part papier-mache powder. The final product won't be damaged by the exothermic reaction from the epoxy resin water, unlike my usual foam terrain base. As shown in the above image on the left side, I left a few gaps in the walls for the gate and cannons.I also created a powder magazine (a small underground room used for storing explosive materials to shield them from enemy fire) out of the plaster. I removed part of the roof (see the above image on the right) to simulate a shell hole and to show the detailed interior. The powder magazines at Fort Henry were built into artificial hills because of the flat, swampy terrain. Also, I sealed the plaster in preparation for the resin.
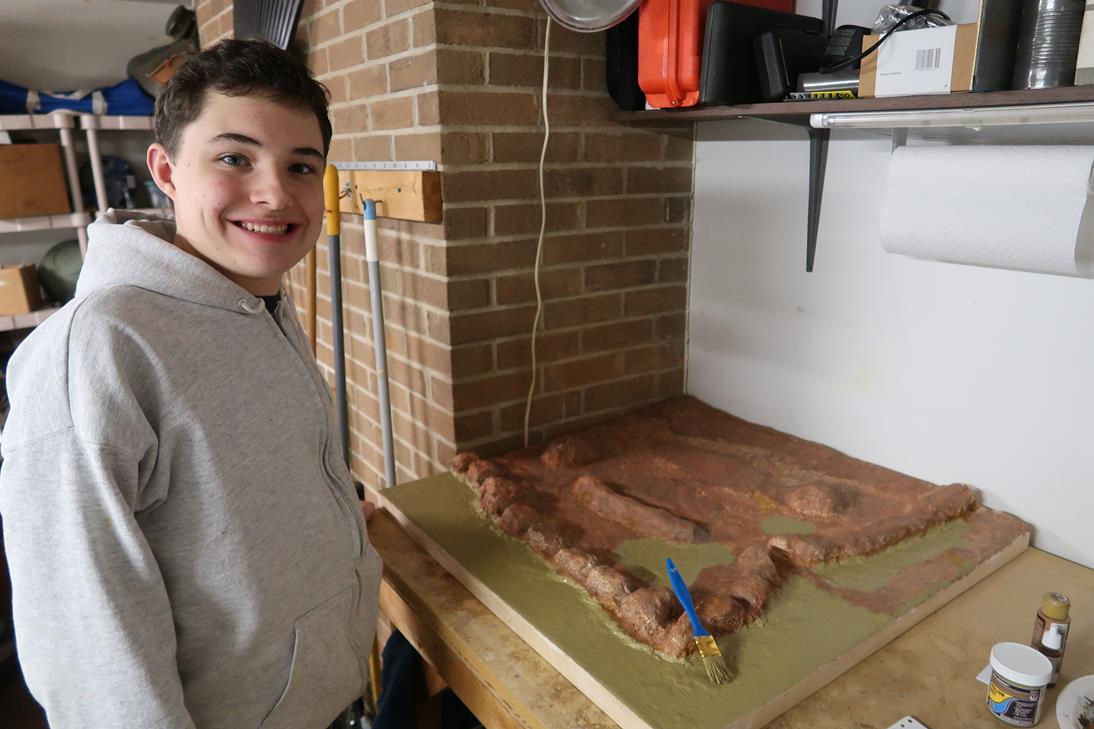
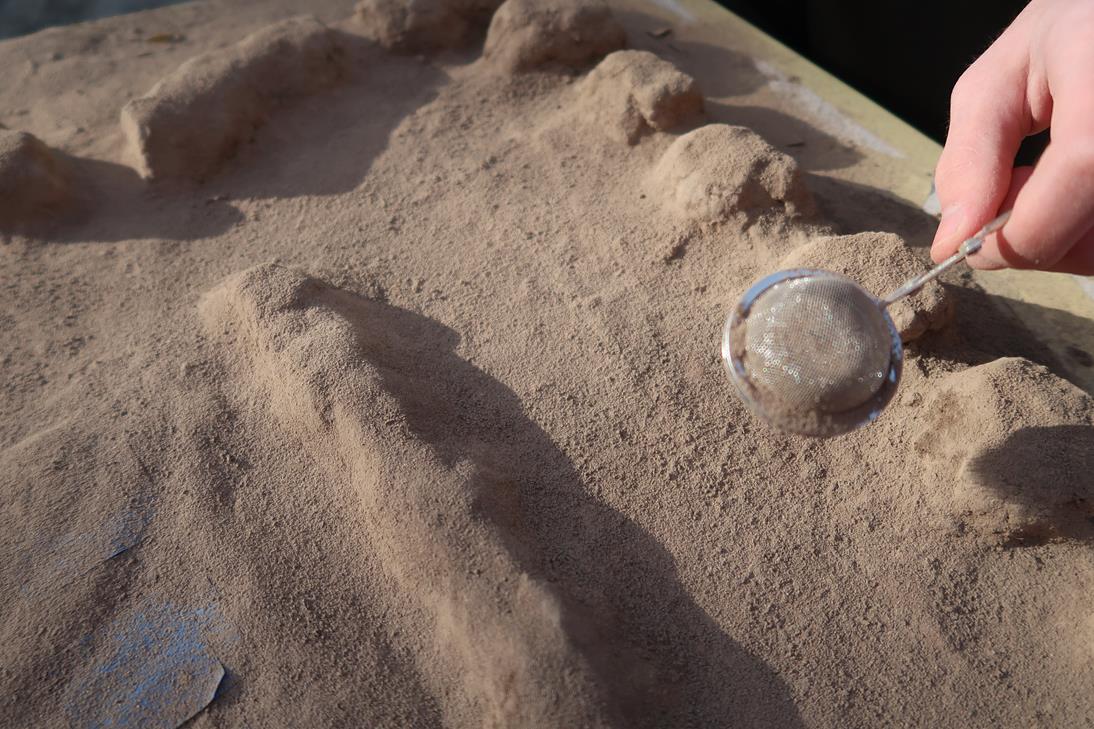
Next came my favorite part, adding scenery. I began with a base coat of orange-ish brown acrylic paint to simulate Middle Tennessee's iron rich soil. This provides a nice undercoat for the topsoil. I used several coats of a special sealer paint where the resin will go; all of the above is shown in the left image above. Next, I used a tea seive to apply several layers of tile grout to simulate topsoil. Grout is the right grade for modeling soil, and is, excuse my pun, dirt cheap! I later came back with another darker layer of grout to simulate wagon tracks and muddy areas. I sealed everything down with a coat of isopropyl alcohol (to help the glue soak into the grout) and an application of thinned matte white glue using a spray bottle.
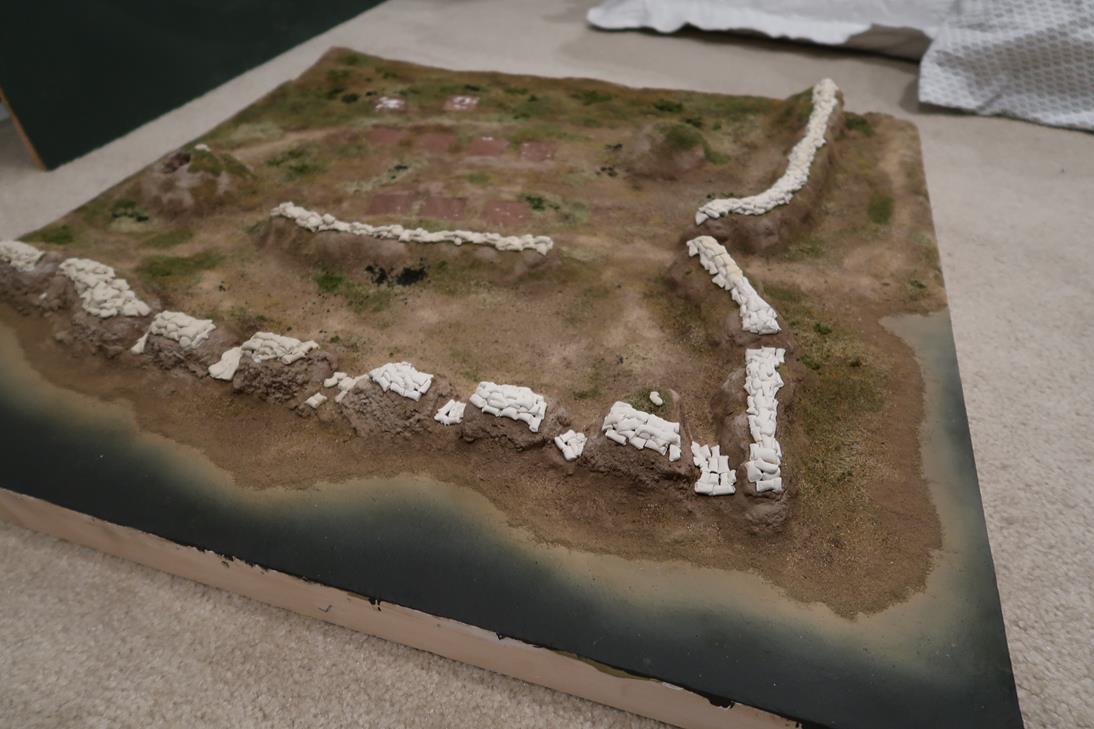
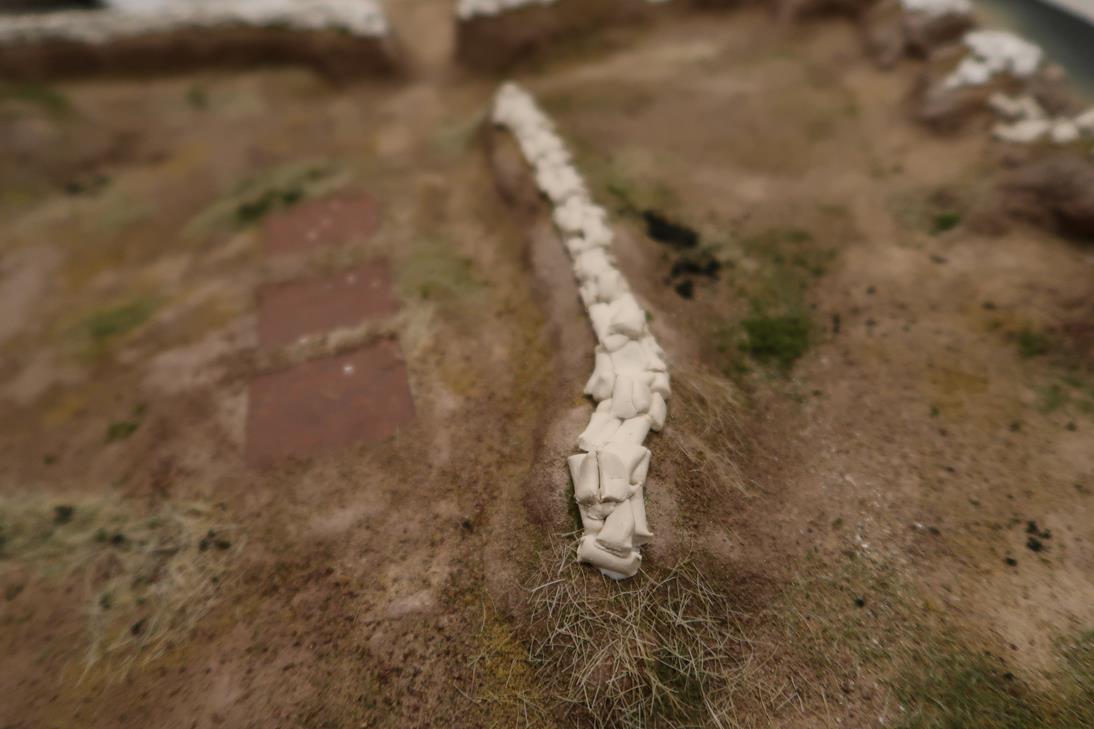
Then, I added static grass, a nylon fiber product made to stand in glue using a static charge from a special applicator, whih I made by modifying and electric fly swatter. I also made sandbags by rolling clay ropes and dividing them into rectangles with a plastic knife. I later weathered the sandbags with India ink and pastels to give an aged appearance.
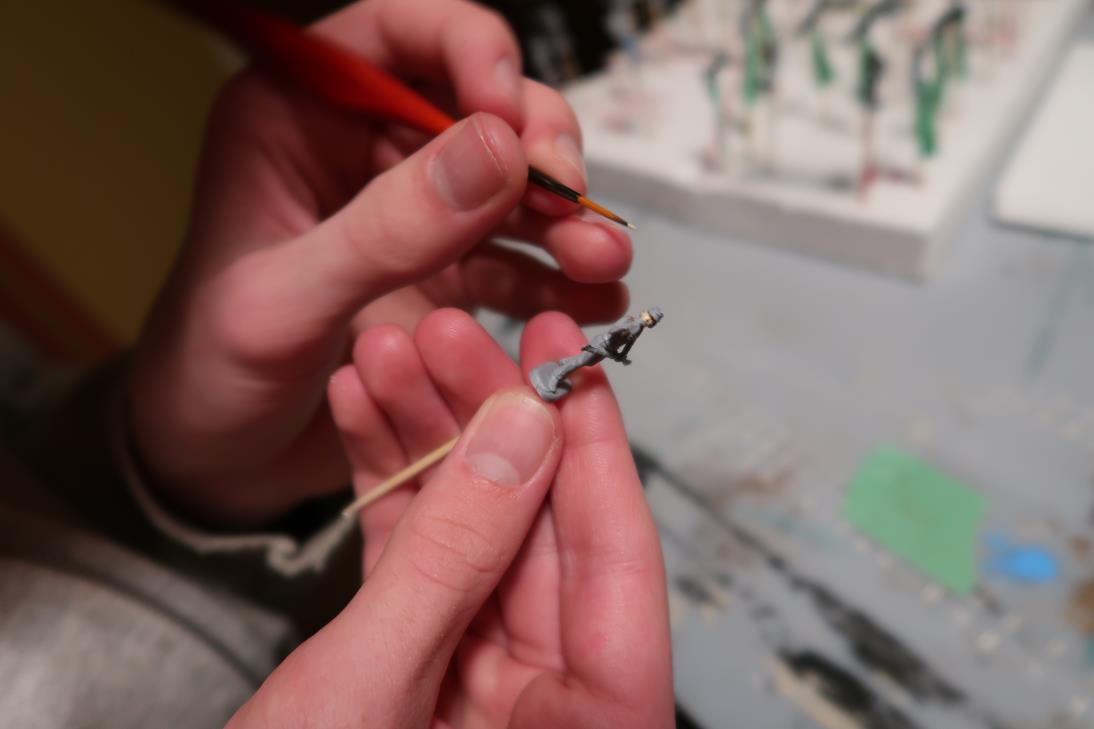
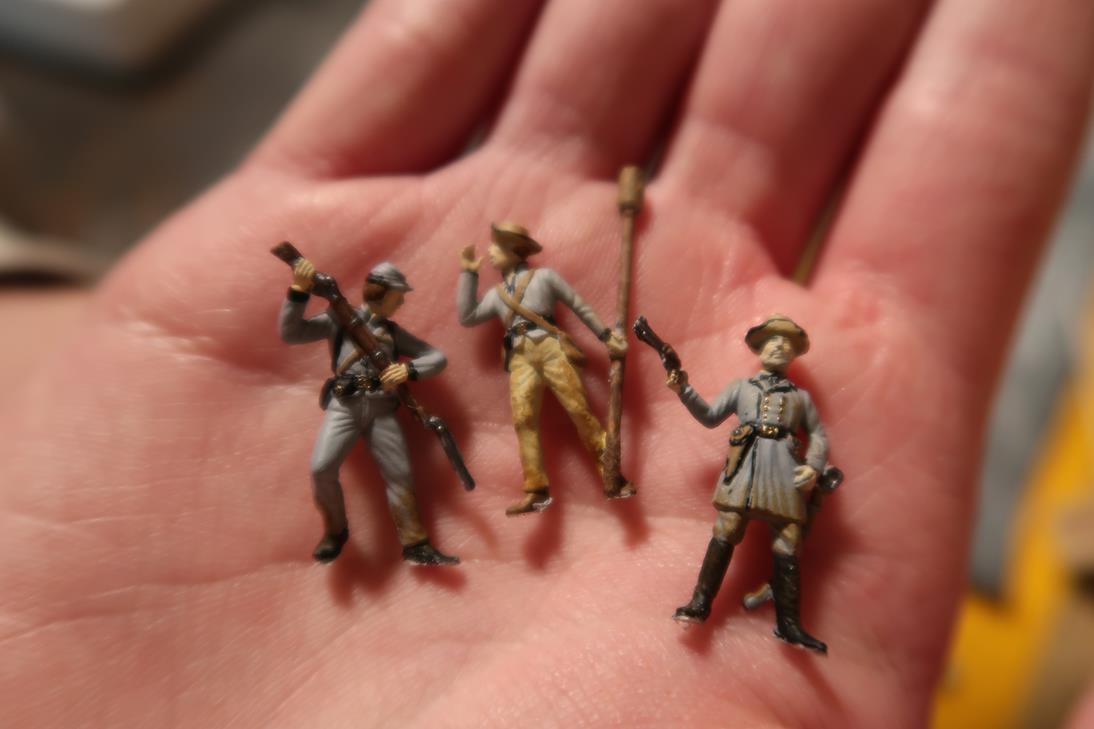
Next, I hand-painted 50 soldiers for the model using an airbrush and small detail brushes. Three of my favorites are shown in the above right image. These add a nice human interest to the model. All told, I spent about 12 hours on the figures alone. I even modified a few by carfully bending them with a torch and adding cannon rammers (middle soldier, above right), wounds, or poses for the scenes from histrocal drawings.
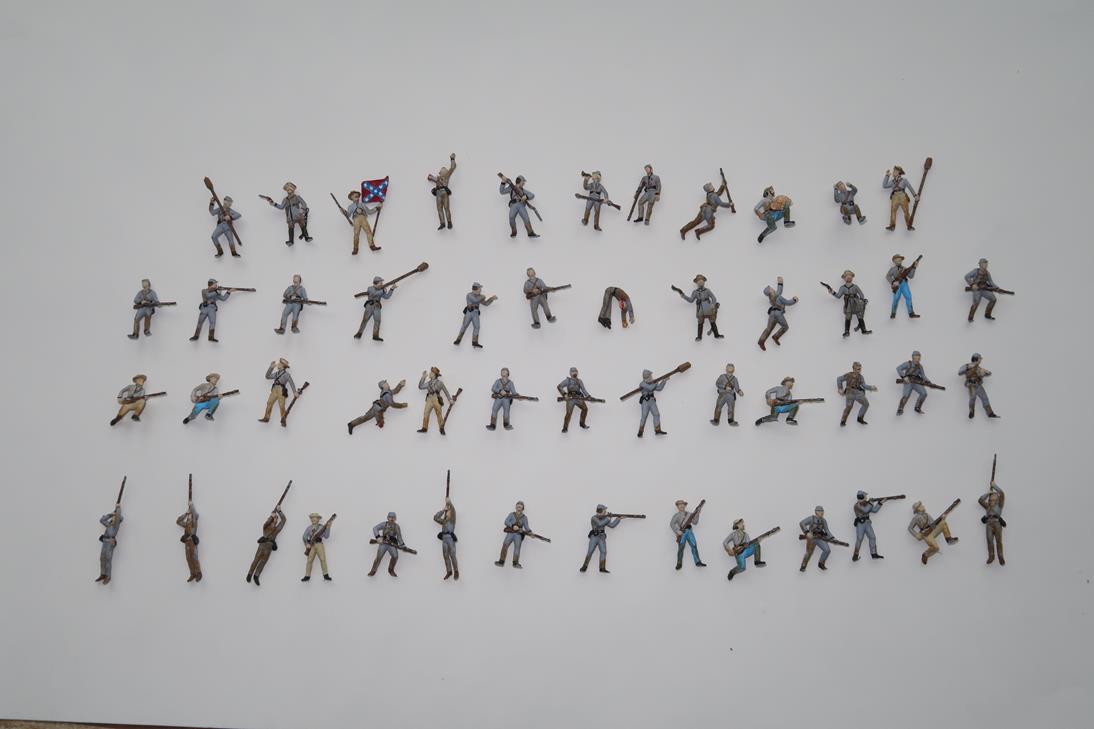
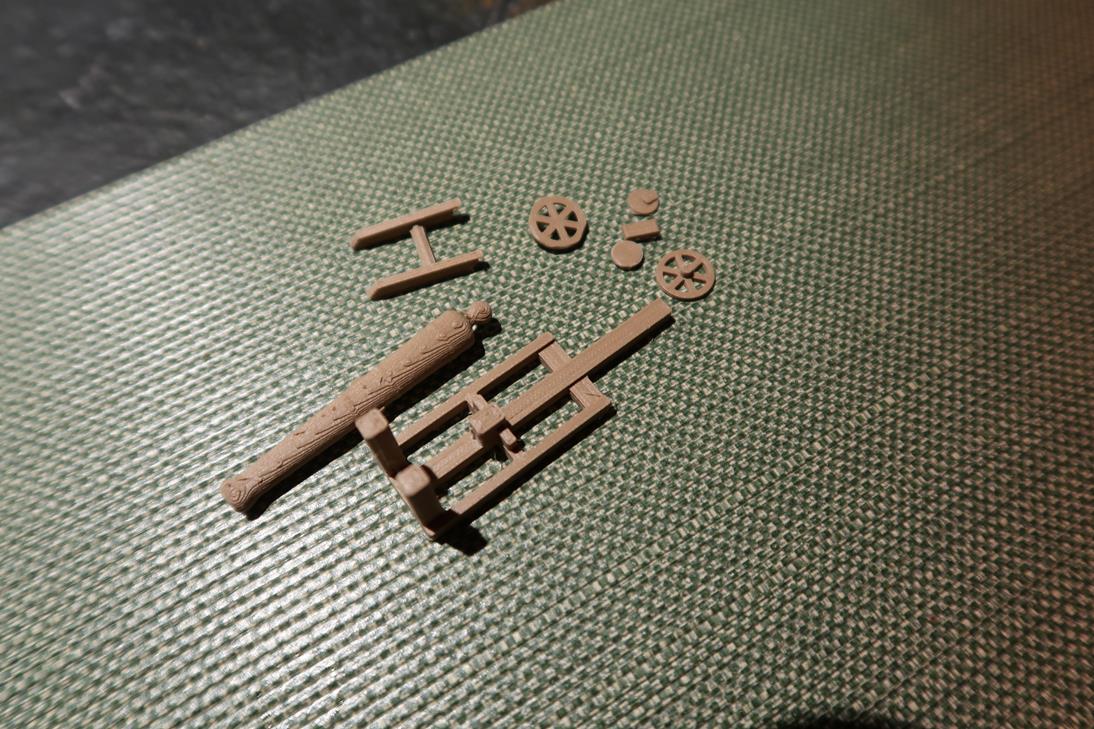
All 50 soldiers are shown above on the left. Also, I designed and 3D printed 42-pounder cannons, above right, and cabins for the model and painted them.

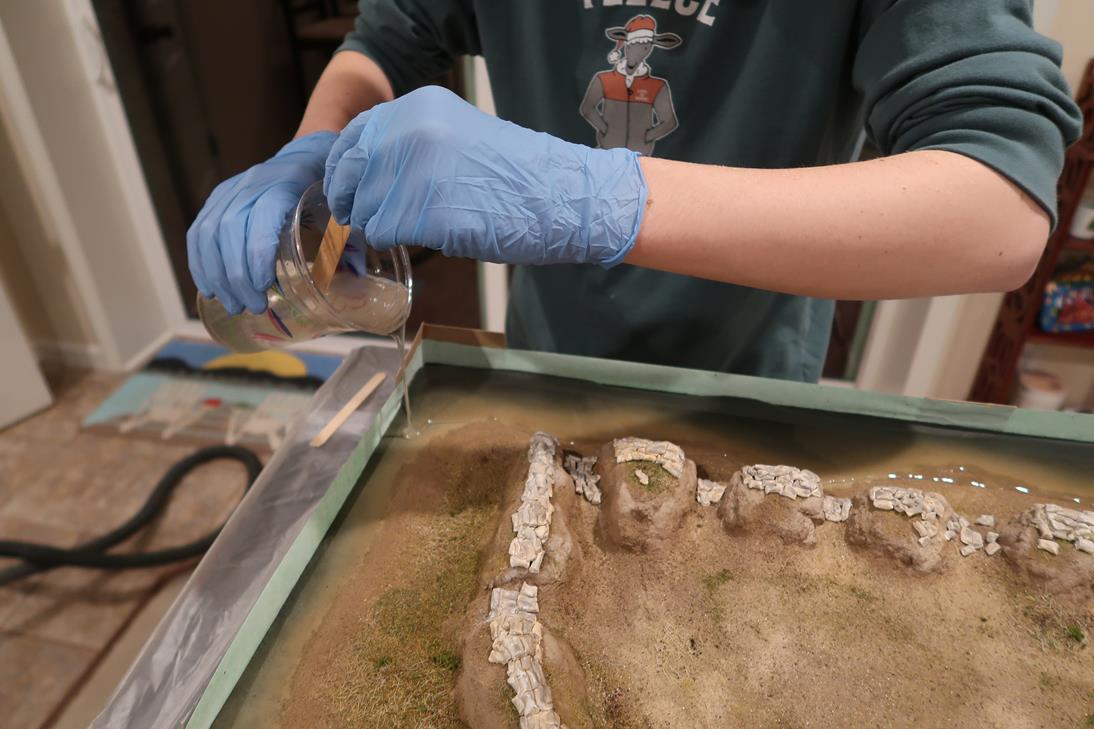
I modeled the flooded Tennessee River with epoxy resin. After carefully mixing the resin, I poured it onto the model. The color didn't turn out quite right, and the resin didn't harden correctly everywhere, but after sealing it with Mod Podge it ended up being strong and looking nice. Still, I may look for an easier method next time I need a water feature; resin stresses me out!
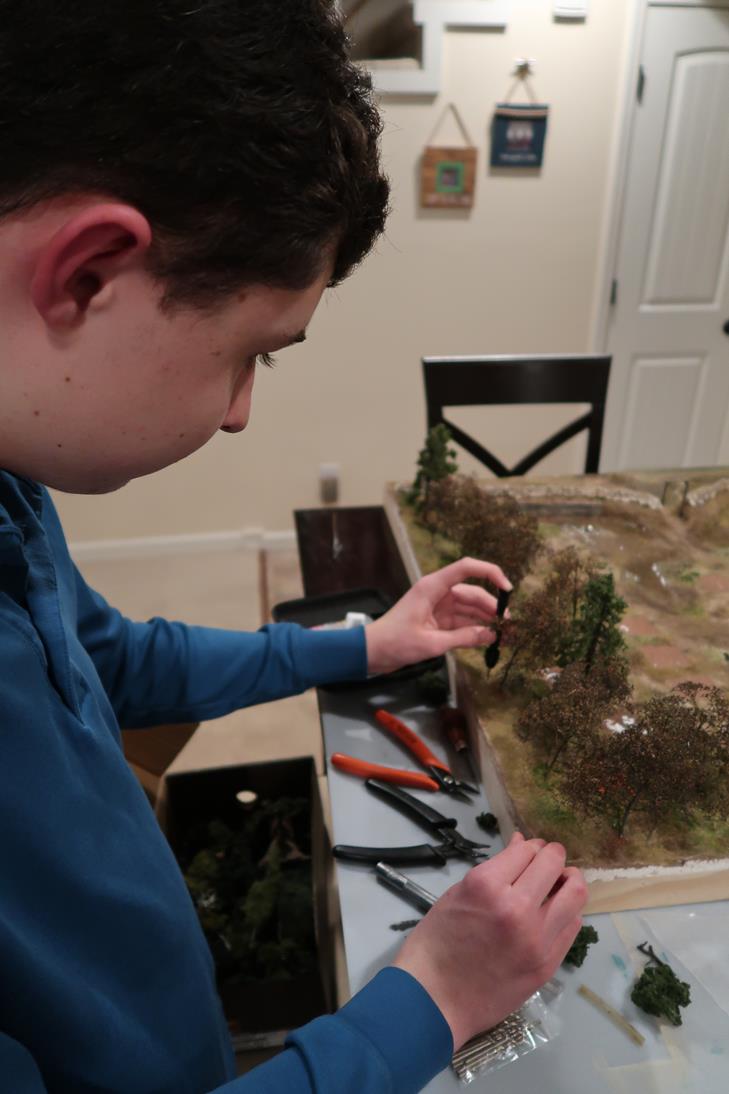
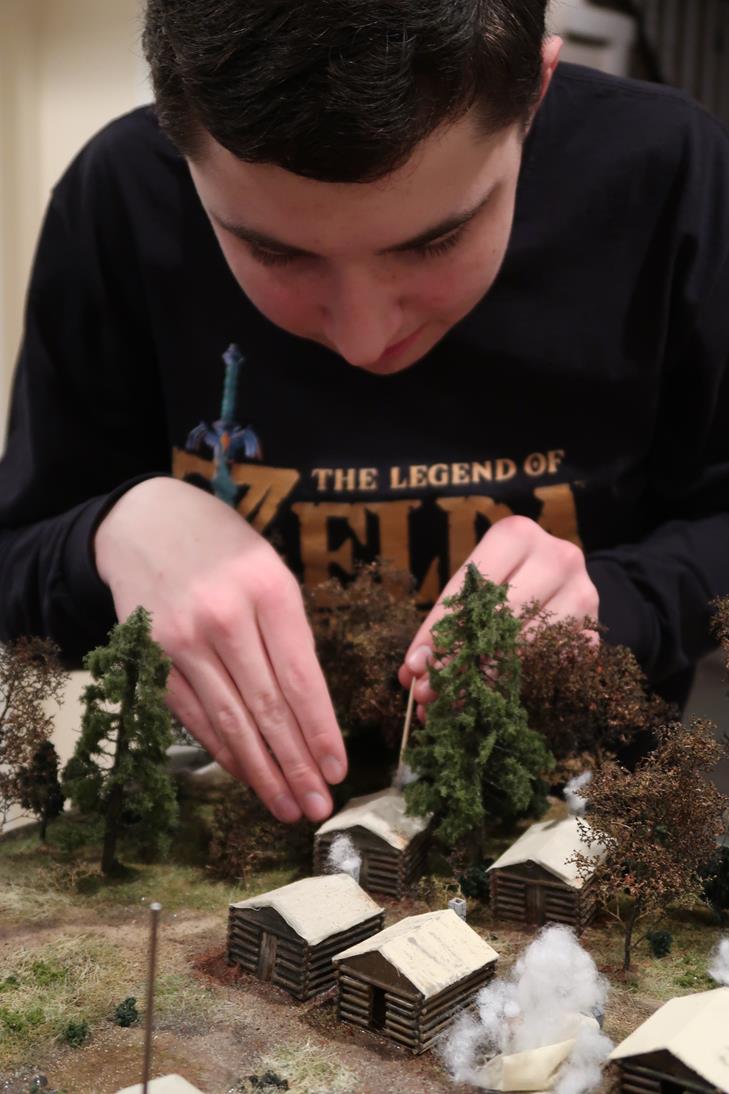
Now, it was time for final assembly. I added evergreen trees made from wire armatures with layers of static grass "needles" as well as dormant oaks. I built 2 more cabins, this time by gluing together plastic rods to form logs, and added real cloth roofs to them. I then glued in the cabins, soldiers, cannons, and some 3D printed barrels and miscellania. Also, I built basswood retaining walls and a gate according to my reference images of the fort. I used some materials from my texture collection such as ground leaves and beach sand to fill in gaps around the newly placed details. In the right image, you can see the exploded cabin in front of my hands.
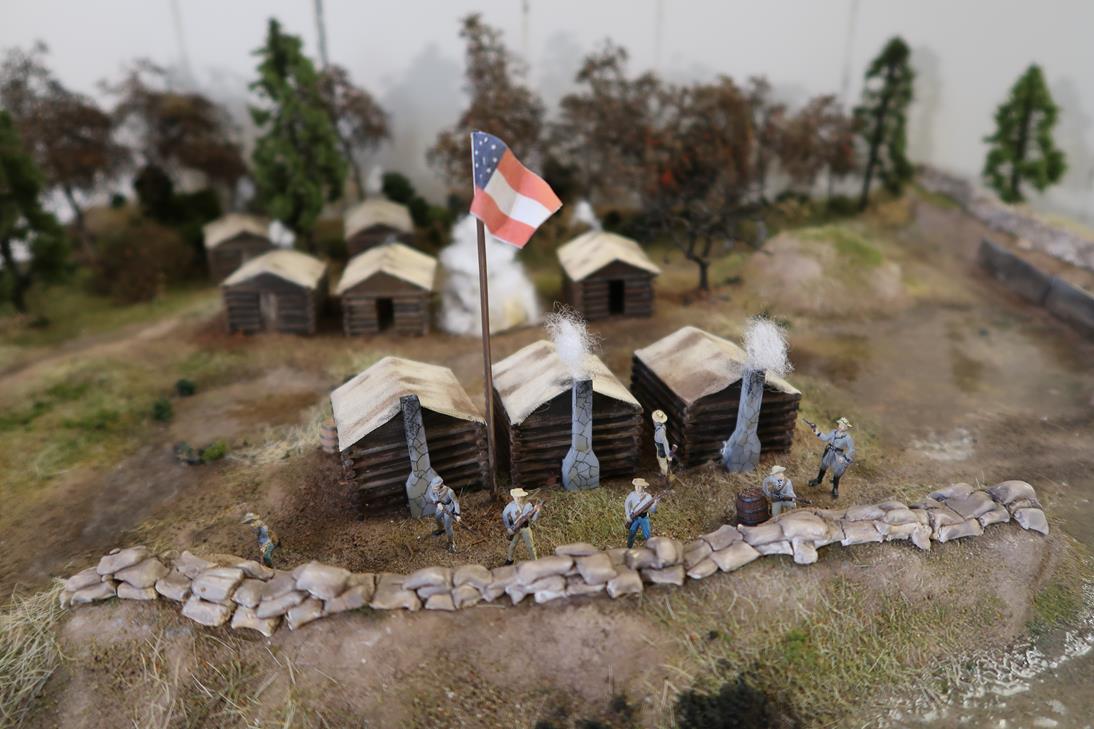
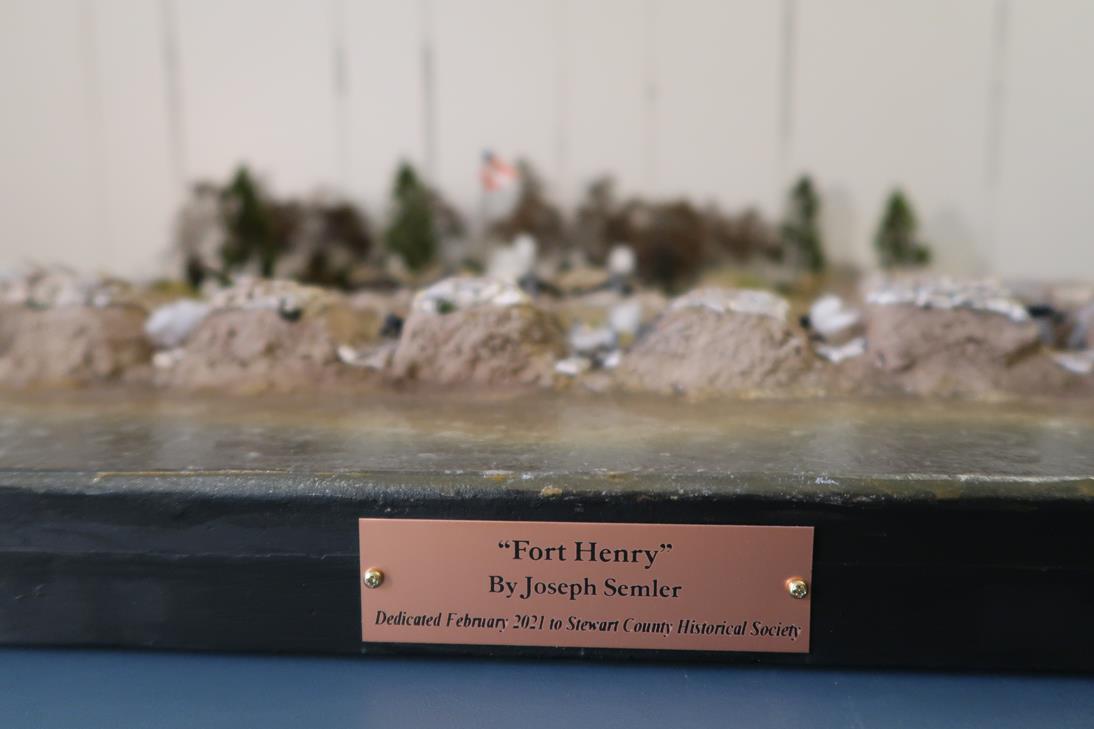

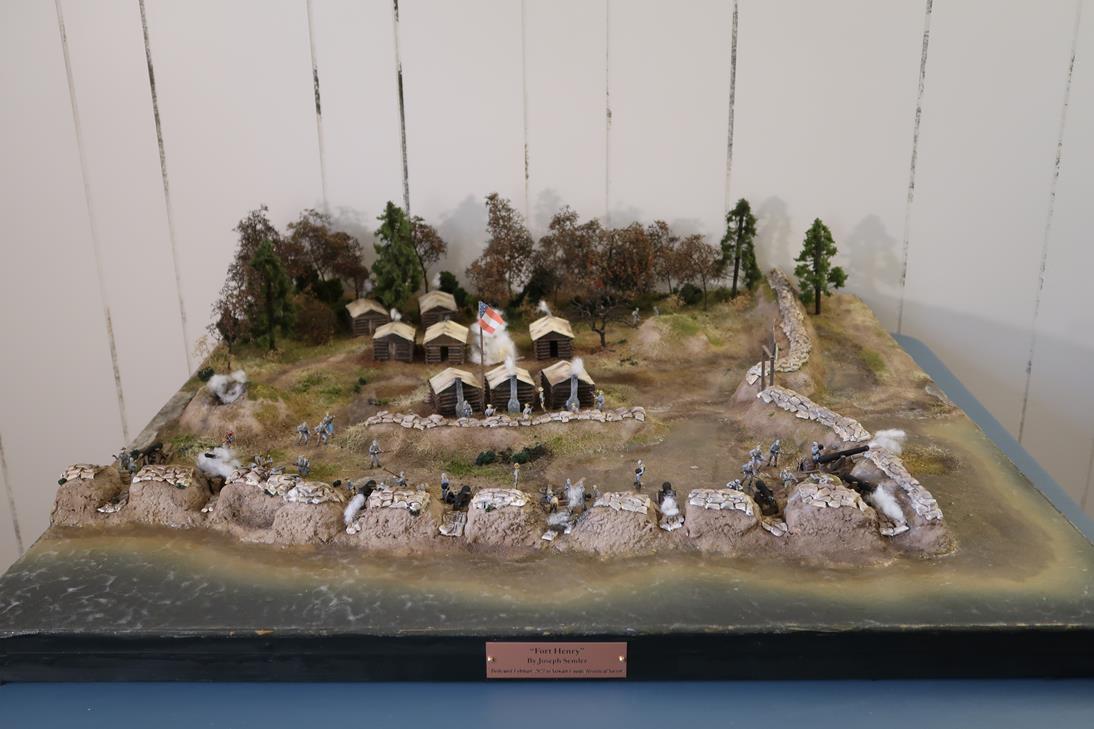
I researched and built the historically accurate flag (Fort Henry's flag was not the Confederate flag design that usually come to mind; the latter was actually the battle flag of the Army of Northern Virginia and was not used universally in the southern armies), and modeled it by printing the design and carefully sanding the paper on 400 grit sandpaper to get a nice, thin flag that would curl realistically, as in the above left image. The bottom left image above shows the scene from "Battle of Fort Henry: Bursting of a 42-Pound Gun in Fort Henry During the Bombardment." I've also included the pictures of the dedication plaque and an overall view.
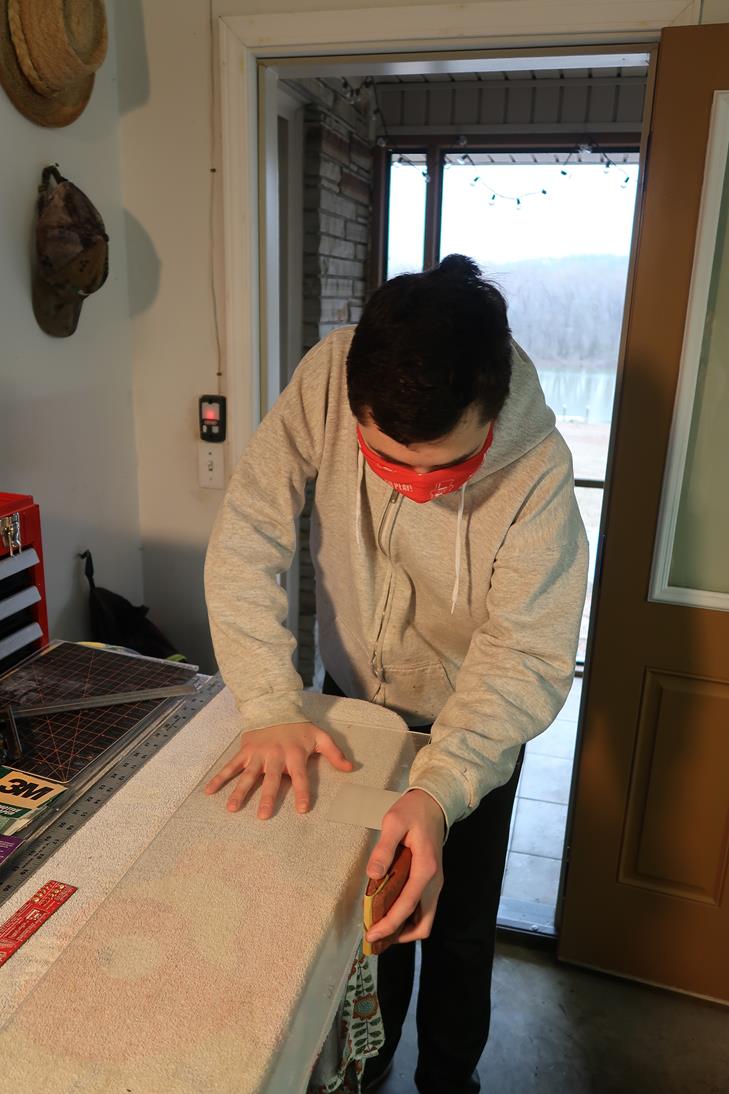
We're in the home strait! I built a 5-sided acrylic cover for the fort. To cut the acrylic sheet, I enlisted the help of the wood shop teacher at my high school.
Next, I sanded the sides perfectly smooth. Hand-sanding acrylic during mid-February in an unheated garage is not fun; see the above left.
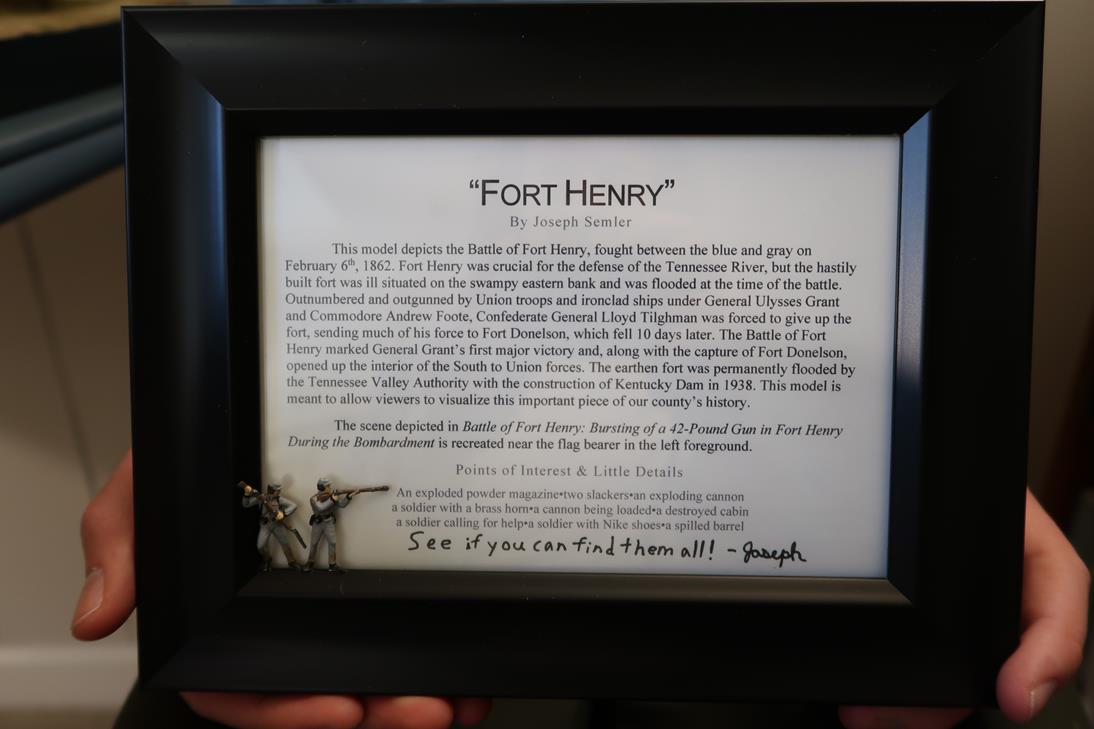
I also created a framed description of the model, shown in the above right image. Like any good engineer, I put the cleaning instructions, material sheet, and my contact information on the back. In case you're wondering ,the soldiers on the frame are named Delmer and Cletus!
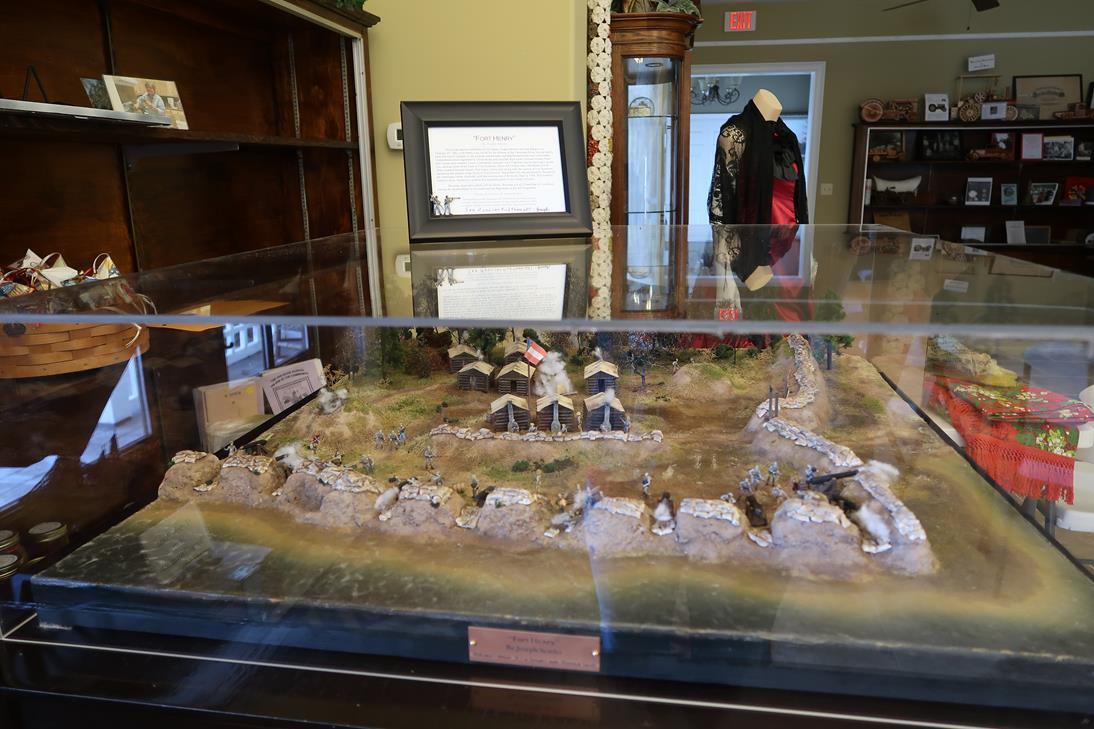
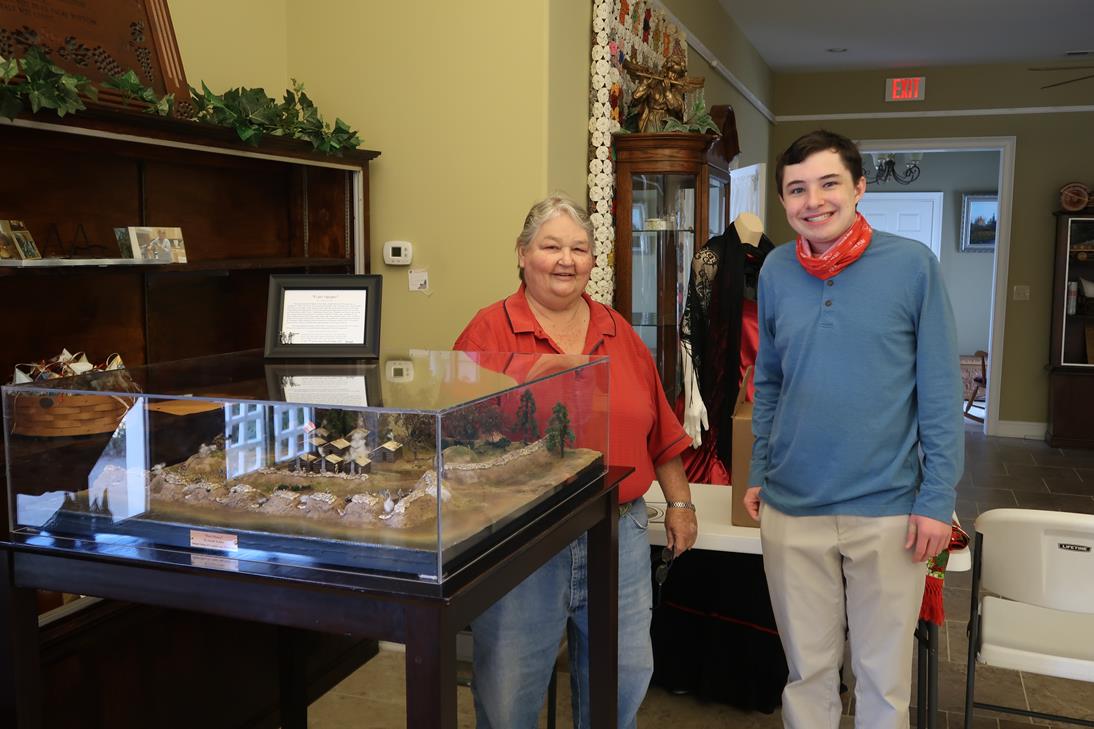
Finally, after 5 months, Fort Henry was done! I brought the model to the Sykes Museum and presented it to Ms. Witzofsky, a member of the historical society. This has been my favorite project,
and has given me an opportunity to give back to my community in a unique way by uniting my interests in engineering, modeling, and history.
Thanks for reading,
Joseph Semler